Trilium Notes
In this example we are going to add Trilium - a hierarchical note taking application with focus on building large personal knowledge bases.
We will create isolated node environment for Trilium and its dependencies. Then we will start it in a permanent way, and add Trilium card to the workspace UI.
Install
Let's clone the trilium git repository:
$ git clone https://github.com/zadam/trilium.git ~/apps/trilium

Cloning into '/home/abc/apps/trilium'...
remote: Enumerating objects: 14427, done.
remote: Counting objects: 100% (1803/1803), done.
remote: Compressing objects: 100% (700/700), done.
remote: Total 14427 (delta 1016), reused 1516 (delta 858), pack-reused 12624
Receiving objects: 100% (14427/14427), 24.42 MiB | 1.13 MiB/s, done.
Resolving deltas: 100% (10079/10079), done.

$ cd ~/apps/trilium
with <font color="#FDEB61">abc</font> in <font color="#37E6E8">~/apps/trilium</font> on <font color="#BC94B7">⇡master</font> <font color="#98E242">➜</font>
Create node enviroment and activate it:
$ nodeenv --node=16.17.0 env && . env/bin/activate

 * Install prebuilt node (16.17.0) ..... done.
(env) 17:58:14 with <font color="#FDEB61">abc</font> in <font color="#37E6E8">~/apps/trilium</font> on <font color="#BC94B7">⇡master</font> is 📦  <font color="#5EA702">via ⬢ v16.17.0</font>  <font color="#98E242">➜</font>
Installs a package and all dependsies:
$ npm install

added 1009 packages, and audited 1010 packages in 4m
Run
Before we start Trilium we need to configure the port application will be listening to and disable authentication.
The Trilium configuration is in the subfolder data in the file data/config.ini.
Let's open this config file with code editor, such as nano, vim or Theia, and modify two lines, set
noAuthentication=true

port=8026
Now we can start Trilium
$ npm run start-server

Listening on port 8026
Becca (note cache) load took 16ms
websocket client connected
Table counts: notes: 170, note_revisions: 0, branches: 188, attributes: 247, etapi_tokens: 0
All consistency checks passed with no errors detected (took 18ms)
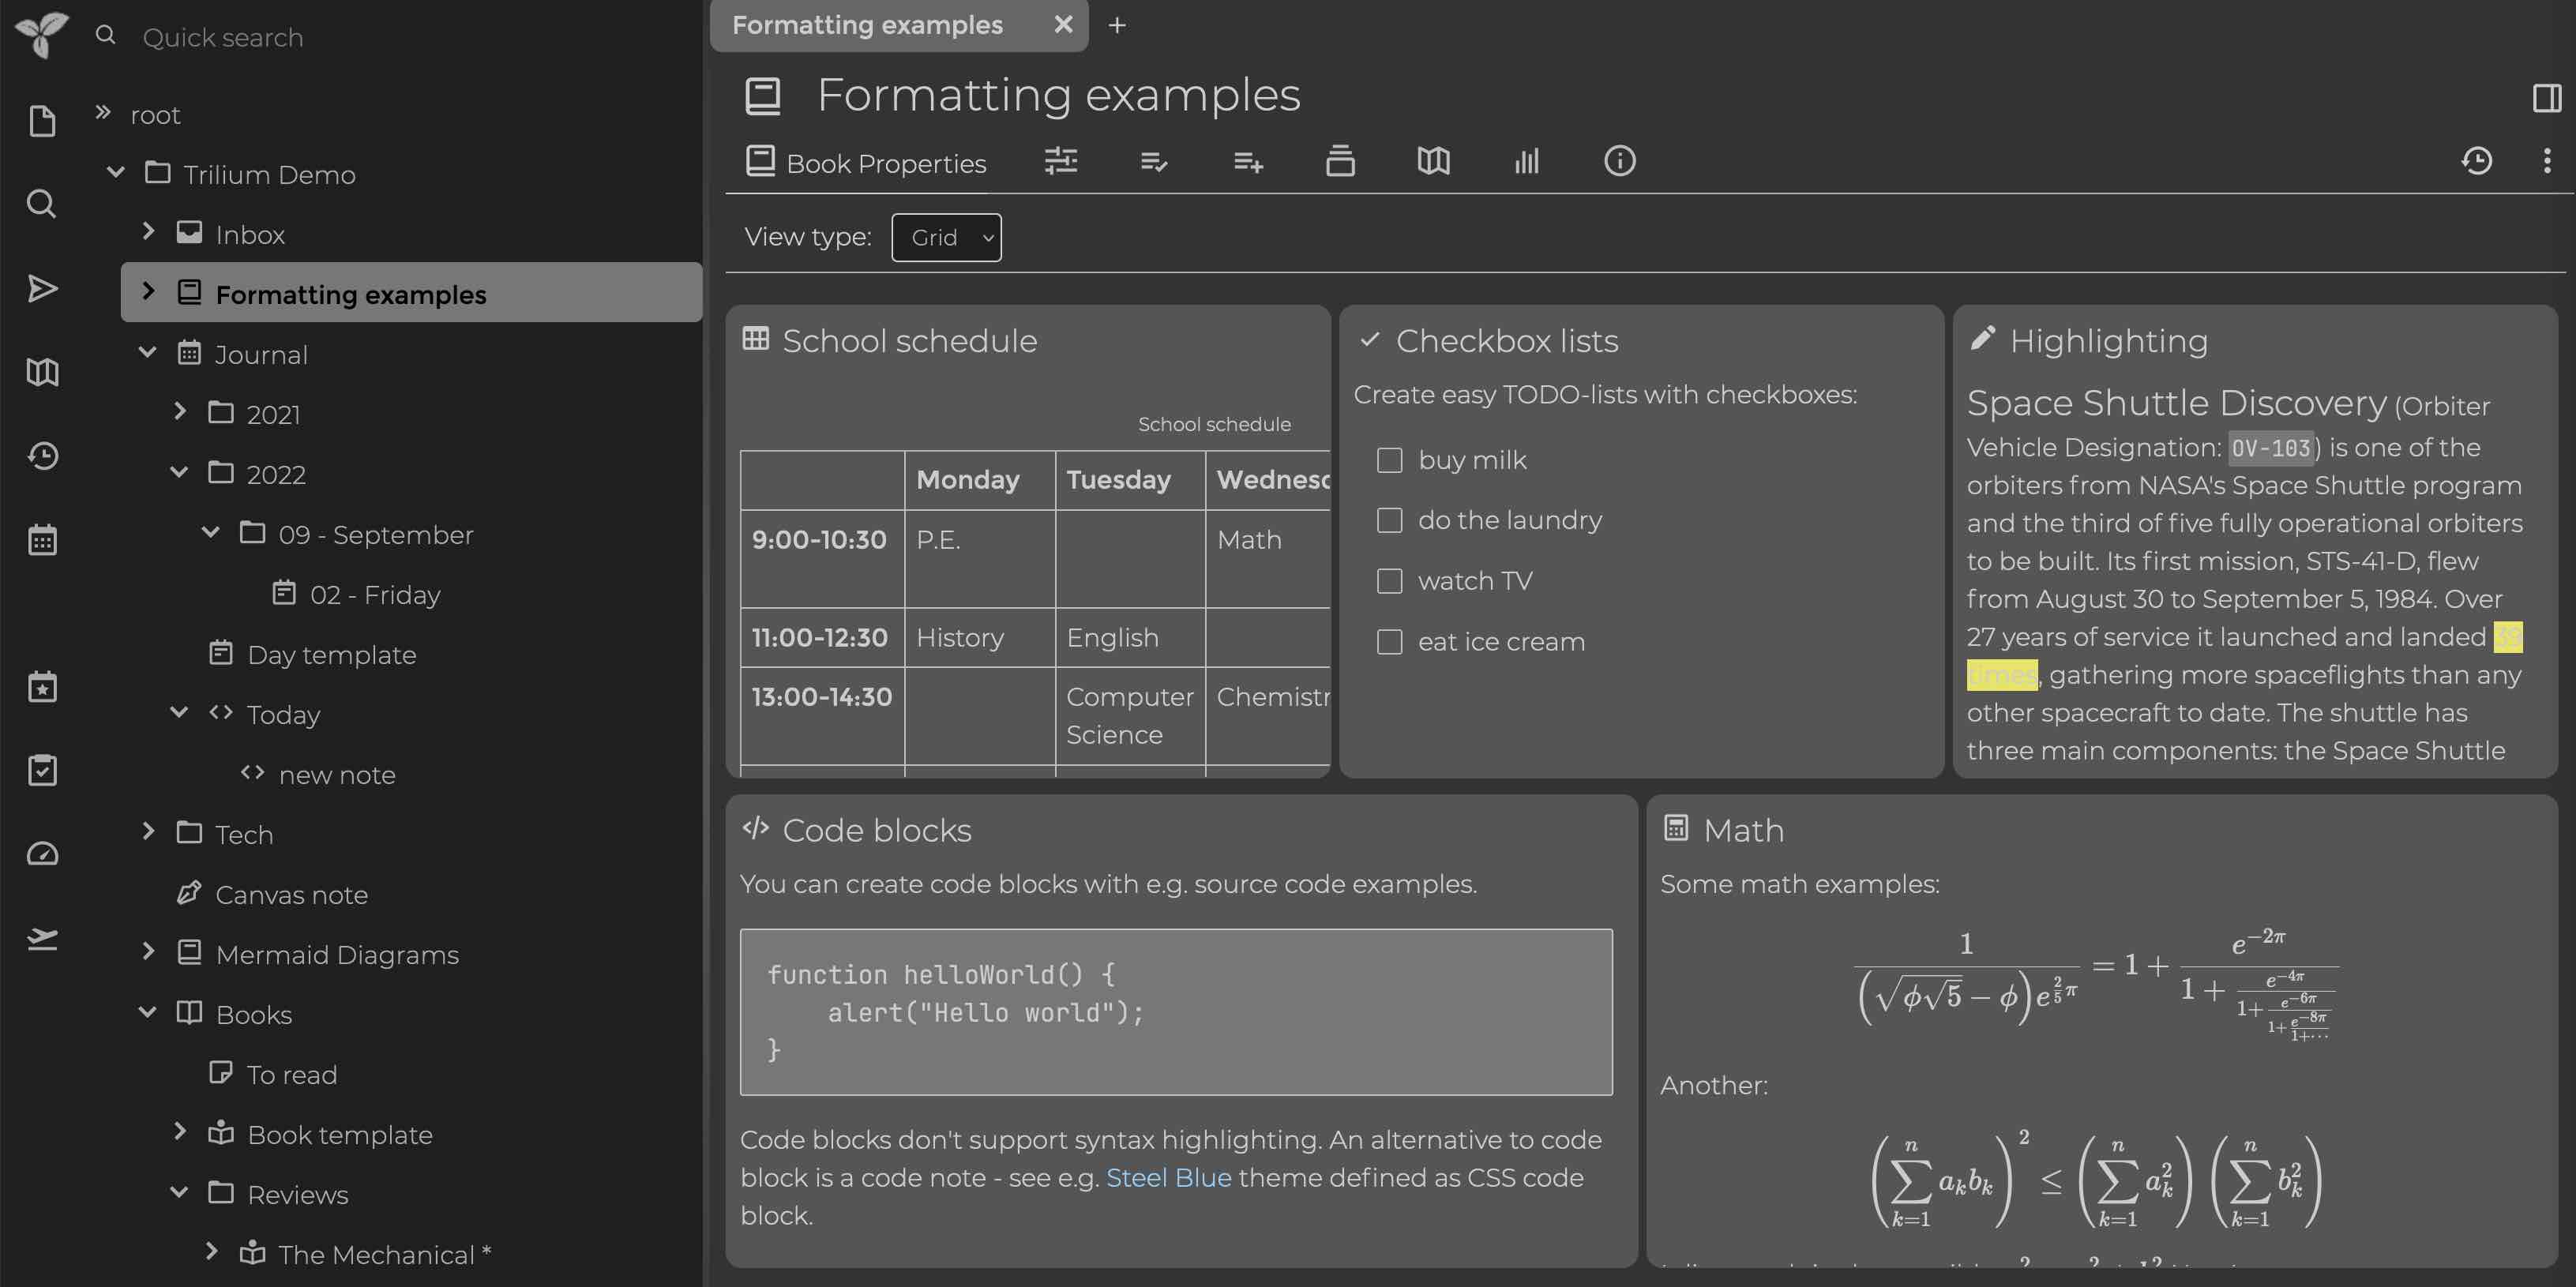
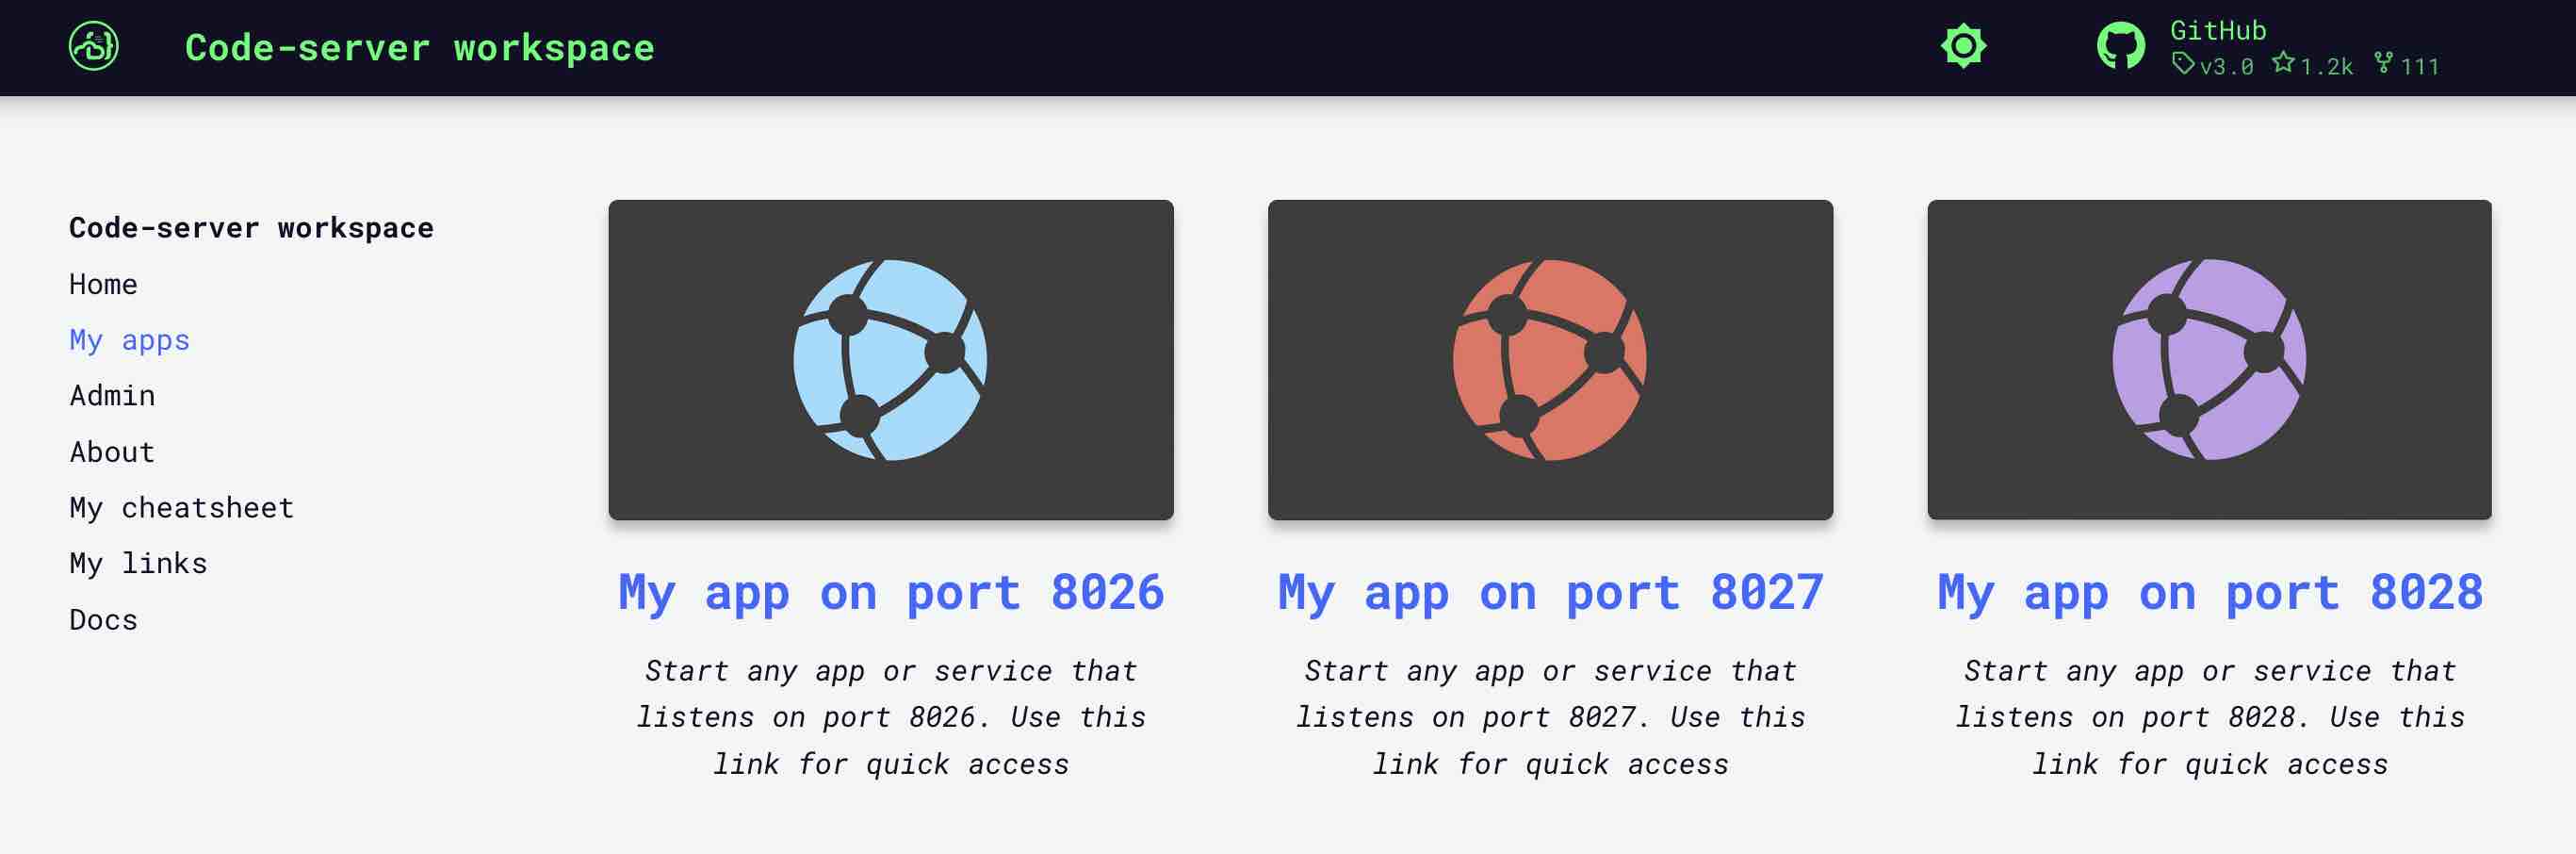
In the workspace UI open "My Apps" and click "My app on port 8026". Trilium is up an running.
Add to workspace
The way we have launched Trilium is not permanent. As soon as we close the terminal session Trilium will shut down. Lets add Trilium to the workspace as a permanet application.
Let's change the Trilium config again. Port 8026 is reserved for the "My app on port 8026", let's use another port - 8032.
Warning
This example relies on port 8032 being available within your workspace. To verify the availability of this port, please consult the 'About' tab within your workspace's UI.
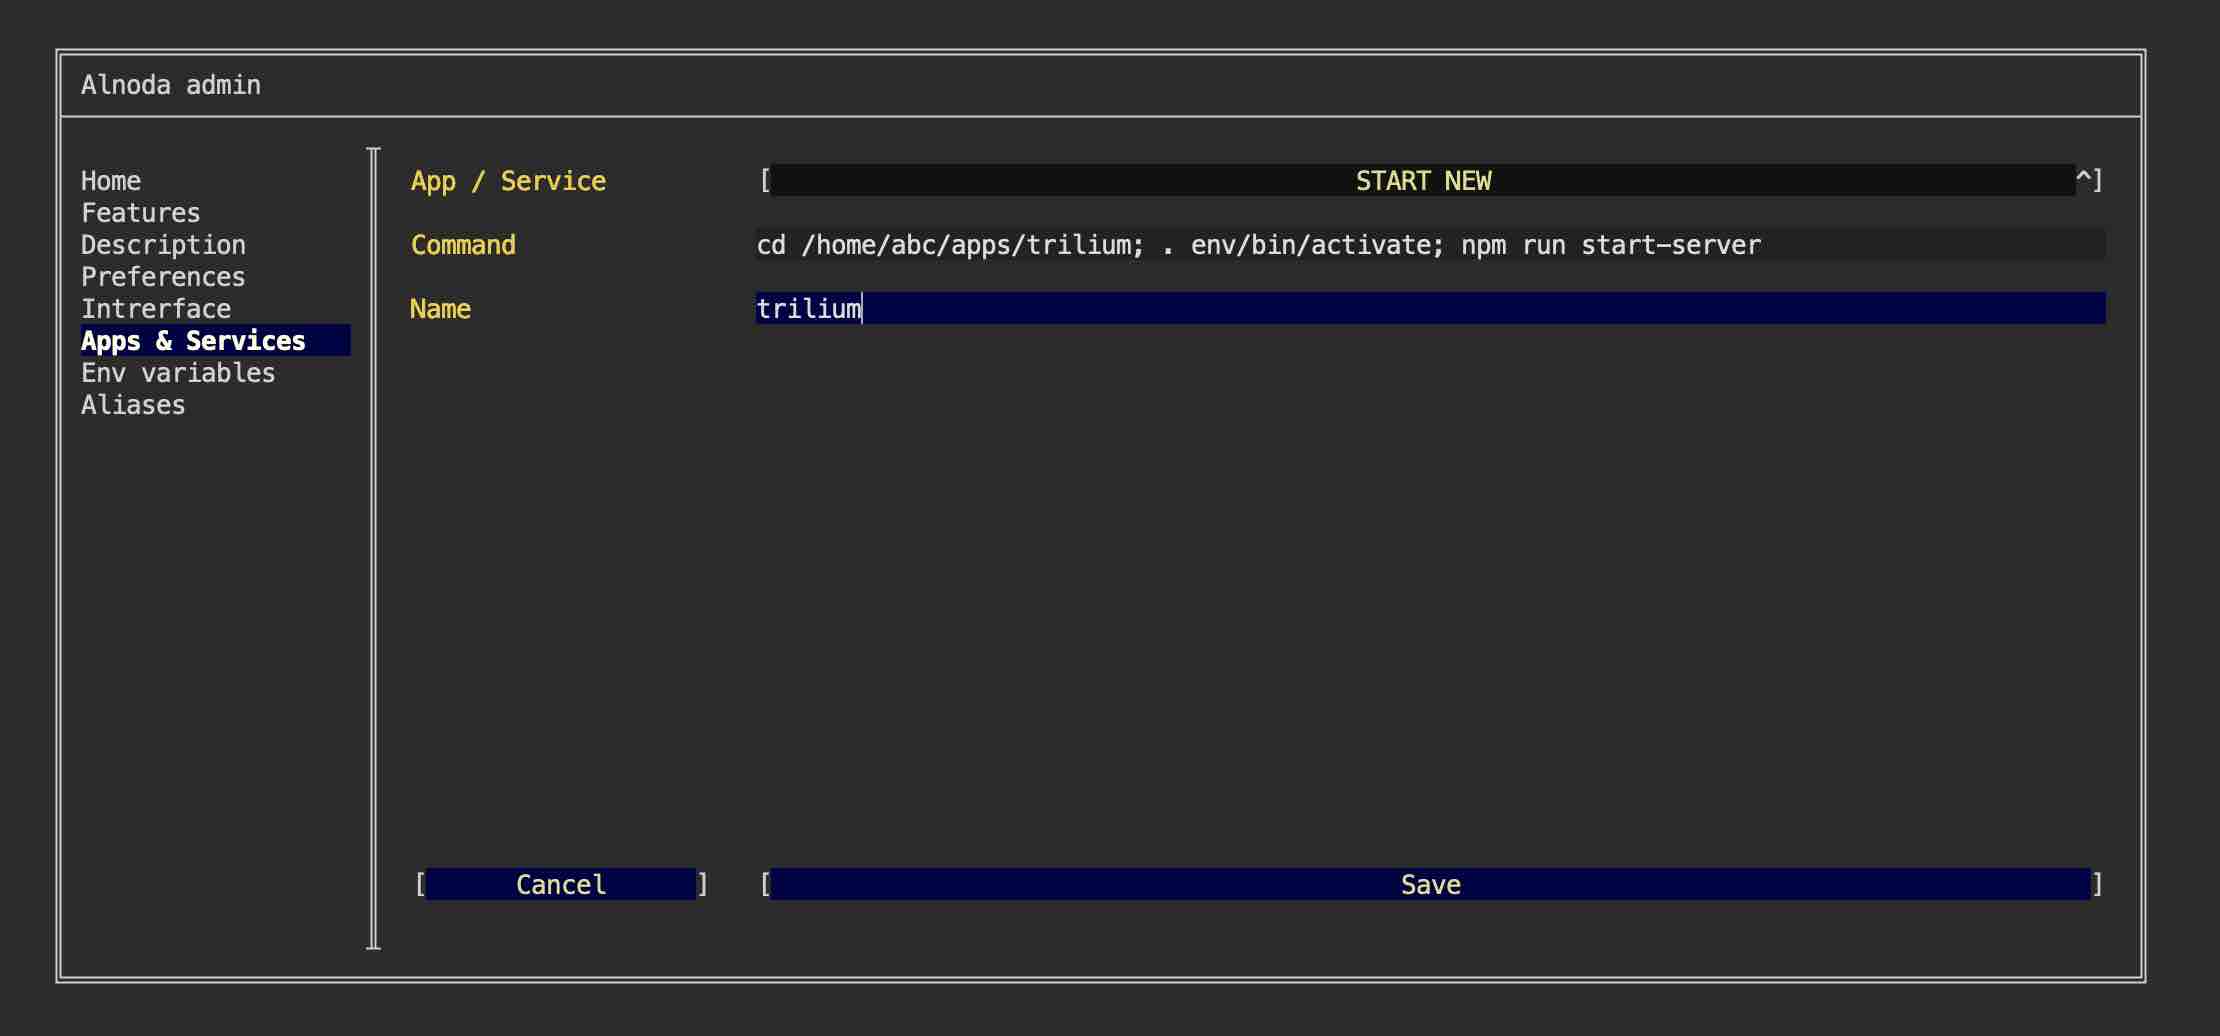
After you changed the port to 8032 in the file data/config.ini, open "Admin" tab, click "Workspace settings" go to "Apps & Services"
and select "START NEW" from the picklist.
We need to enter the command that will activate the node environment, and will also start trilium.
The entire command will look like this
cd /home/abc/apps/trilium; . env/bin/activate; npm run start-server
Use this command, enter any name you want and click "Save".
Please restart the workspace now!
Update UI
Let's add Trilium card to the workspace UI.
On the workspace UI open "Admin" tab, click "Workspace settings", go to "Interface", chose tab you want to add Trilium card to (default Home), and select "START NEW" from the picklist.
You can provide any name, description and image for the new card. It is important though to properly enter the port that Trilium is listening to - port 8032.
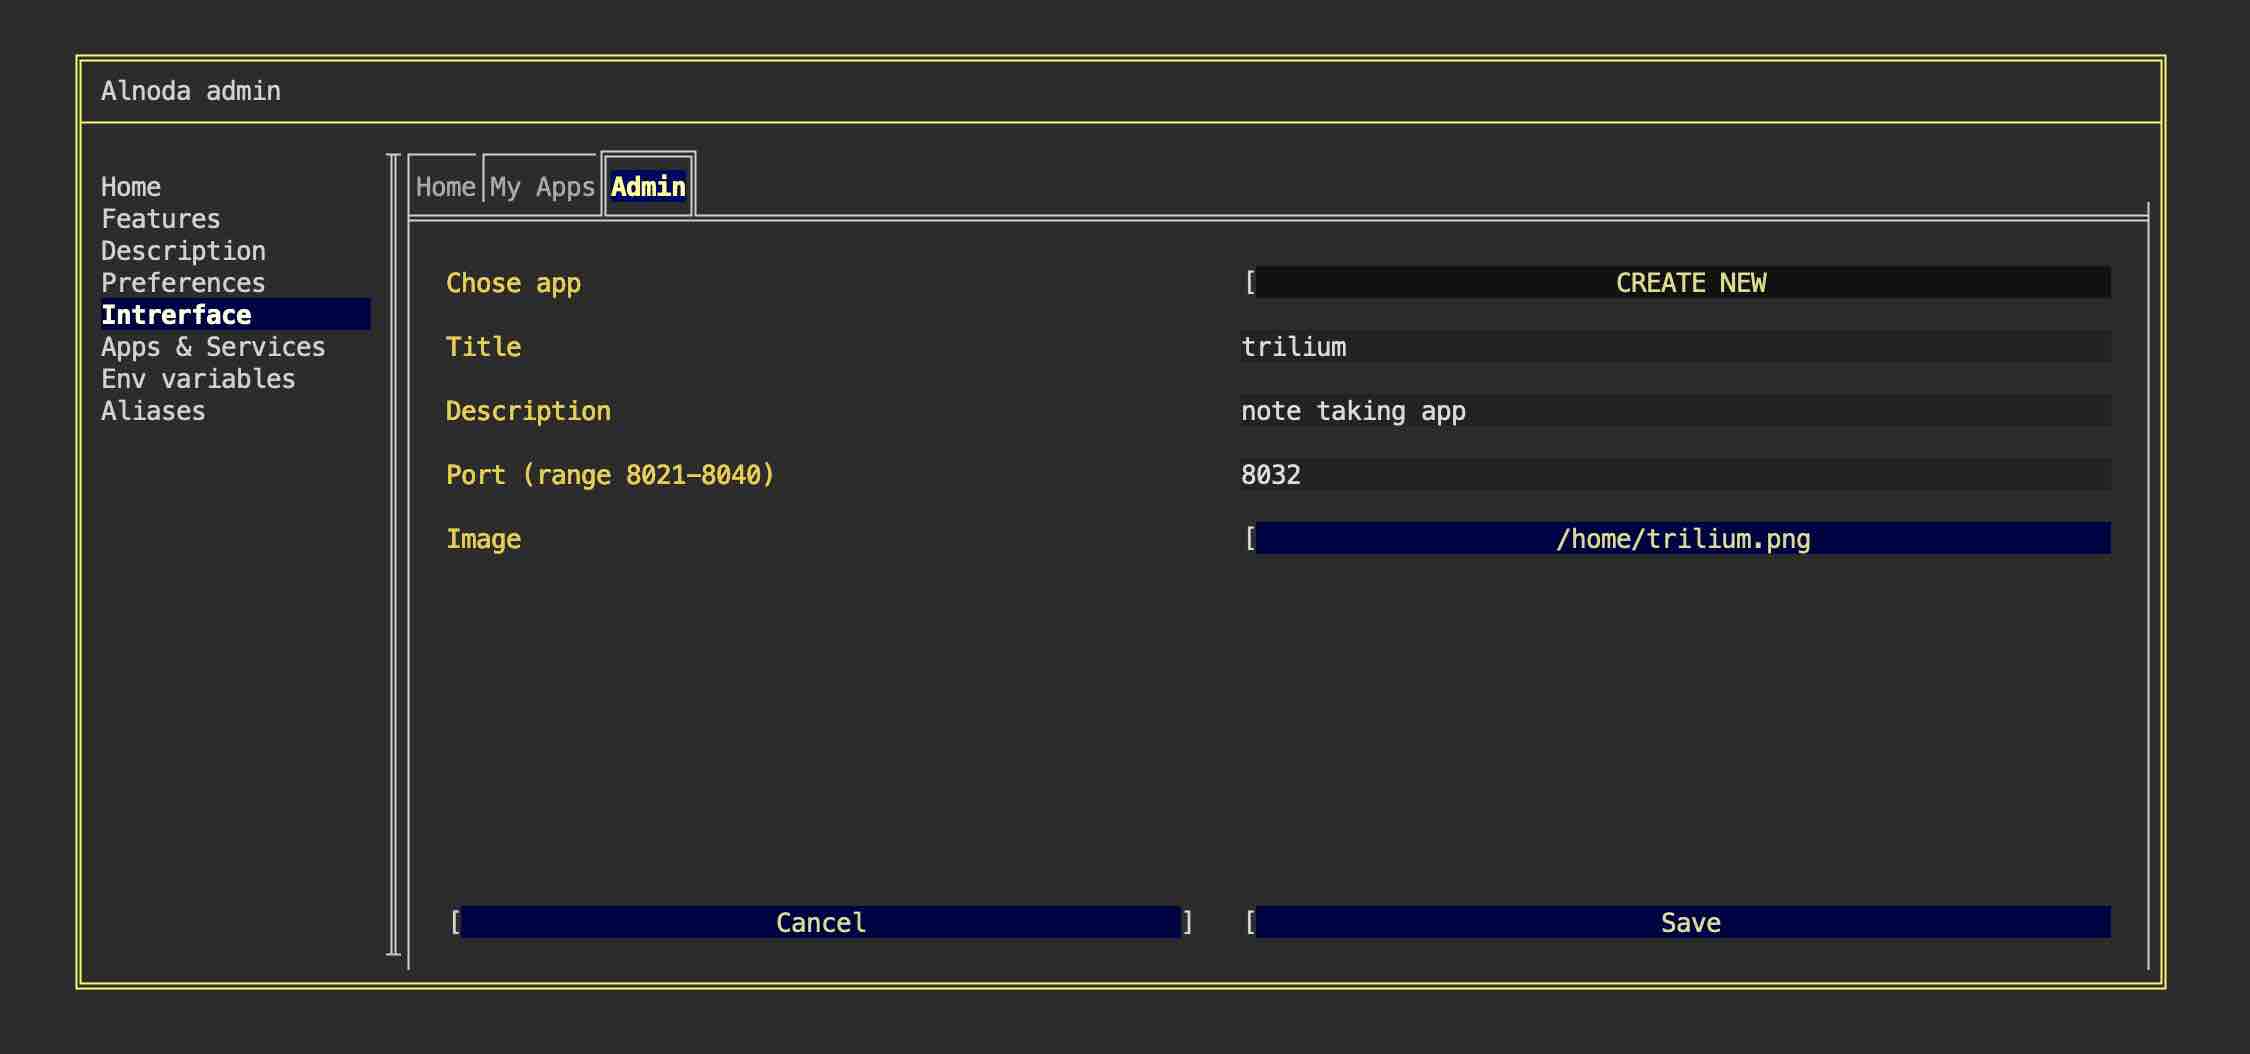
As soon as you hit "Save" button, the Trilium card will appear on the respective tab of the workspace UI page. We can use this card for quick access to Trilium.
Tip
Use the Alnoda Hub for application installation - it greatly simplifies the process!