Limus
In this example we will set up Limus in the workspace. Limus makes your screenshot/image more professional by rotating, adding shadow and more.
We will create isolated node environment for Limus and its dependencies. Then we will start it in a permanent way, and add Limus tab shortcut to the workspace UI.
Install
Open workspace terminal, clone Limus git repository and enter it:
$ git clone https://github.com/ZeroX-DG/limus /home/abc/apps/limus

Cloning into '/home/abc/apps/limus'...

$ cd /home/abc/apps/limus
with <font color="#FDEB61">abc</font> in <font color="#37E6E8">/home/abc/apps/limus</font> on <font color="#BC94B7">⇡master</font> <font color="#98E242">➜</font>
Create node enviroment and activate it:
$ nodeenv --node=12.18.3 env && . env/bin/activate

 * Install prebuilt node (12.18.3) ..... done.
(env) 19:58:14 with <font color="#FDEB61">abc</font> in <font color="#37E6E8">/home/abc/apps/limus</font> on <font color="#BC94B7">⇡master</font> is 📦  <font color="#5EA702">via ⬢ v12.18.3</font>  <font color="#98E242">➜</font>
Install dependencies:
$ npm install

...
added 962 packages from 702 contributors and audited 963 packages in 26.625s
Build the app:
$ npm run build

✨  <font color="#99E343"><b>Built in 12.35s.</b></font>
Install http-server:
$ npm install http-server -g

+ http-server@14.1.1
added 39 packages from 43 contributors in 4.281s
Run
Deploy the dist/ folder just like a static web page using http-server:
$ cd dist && http-server -p 8026

<font color="#C4A502">Available on:</font>
  http://127.0.0.1:<font color="#99E343">8026</font>
  http://172.17.0.3:<font color="#99E343">8026</font>
Hit CTRL-C to stop the server
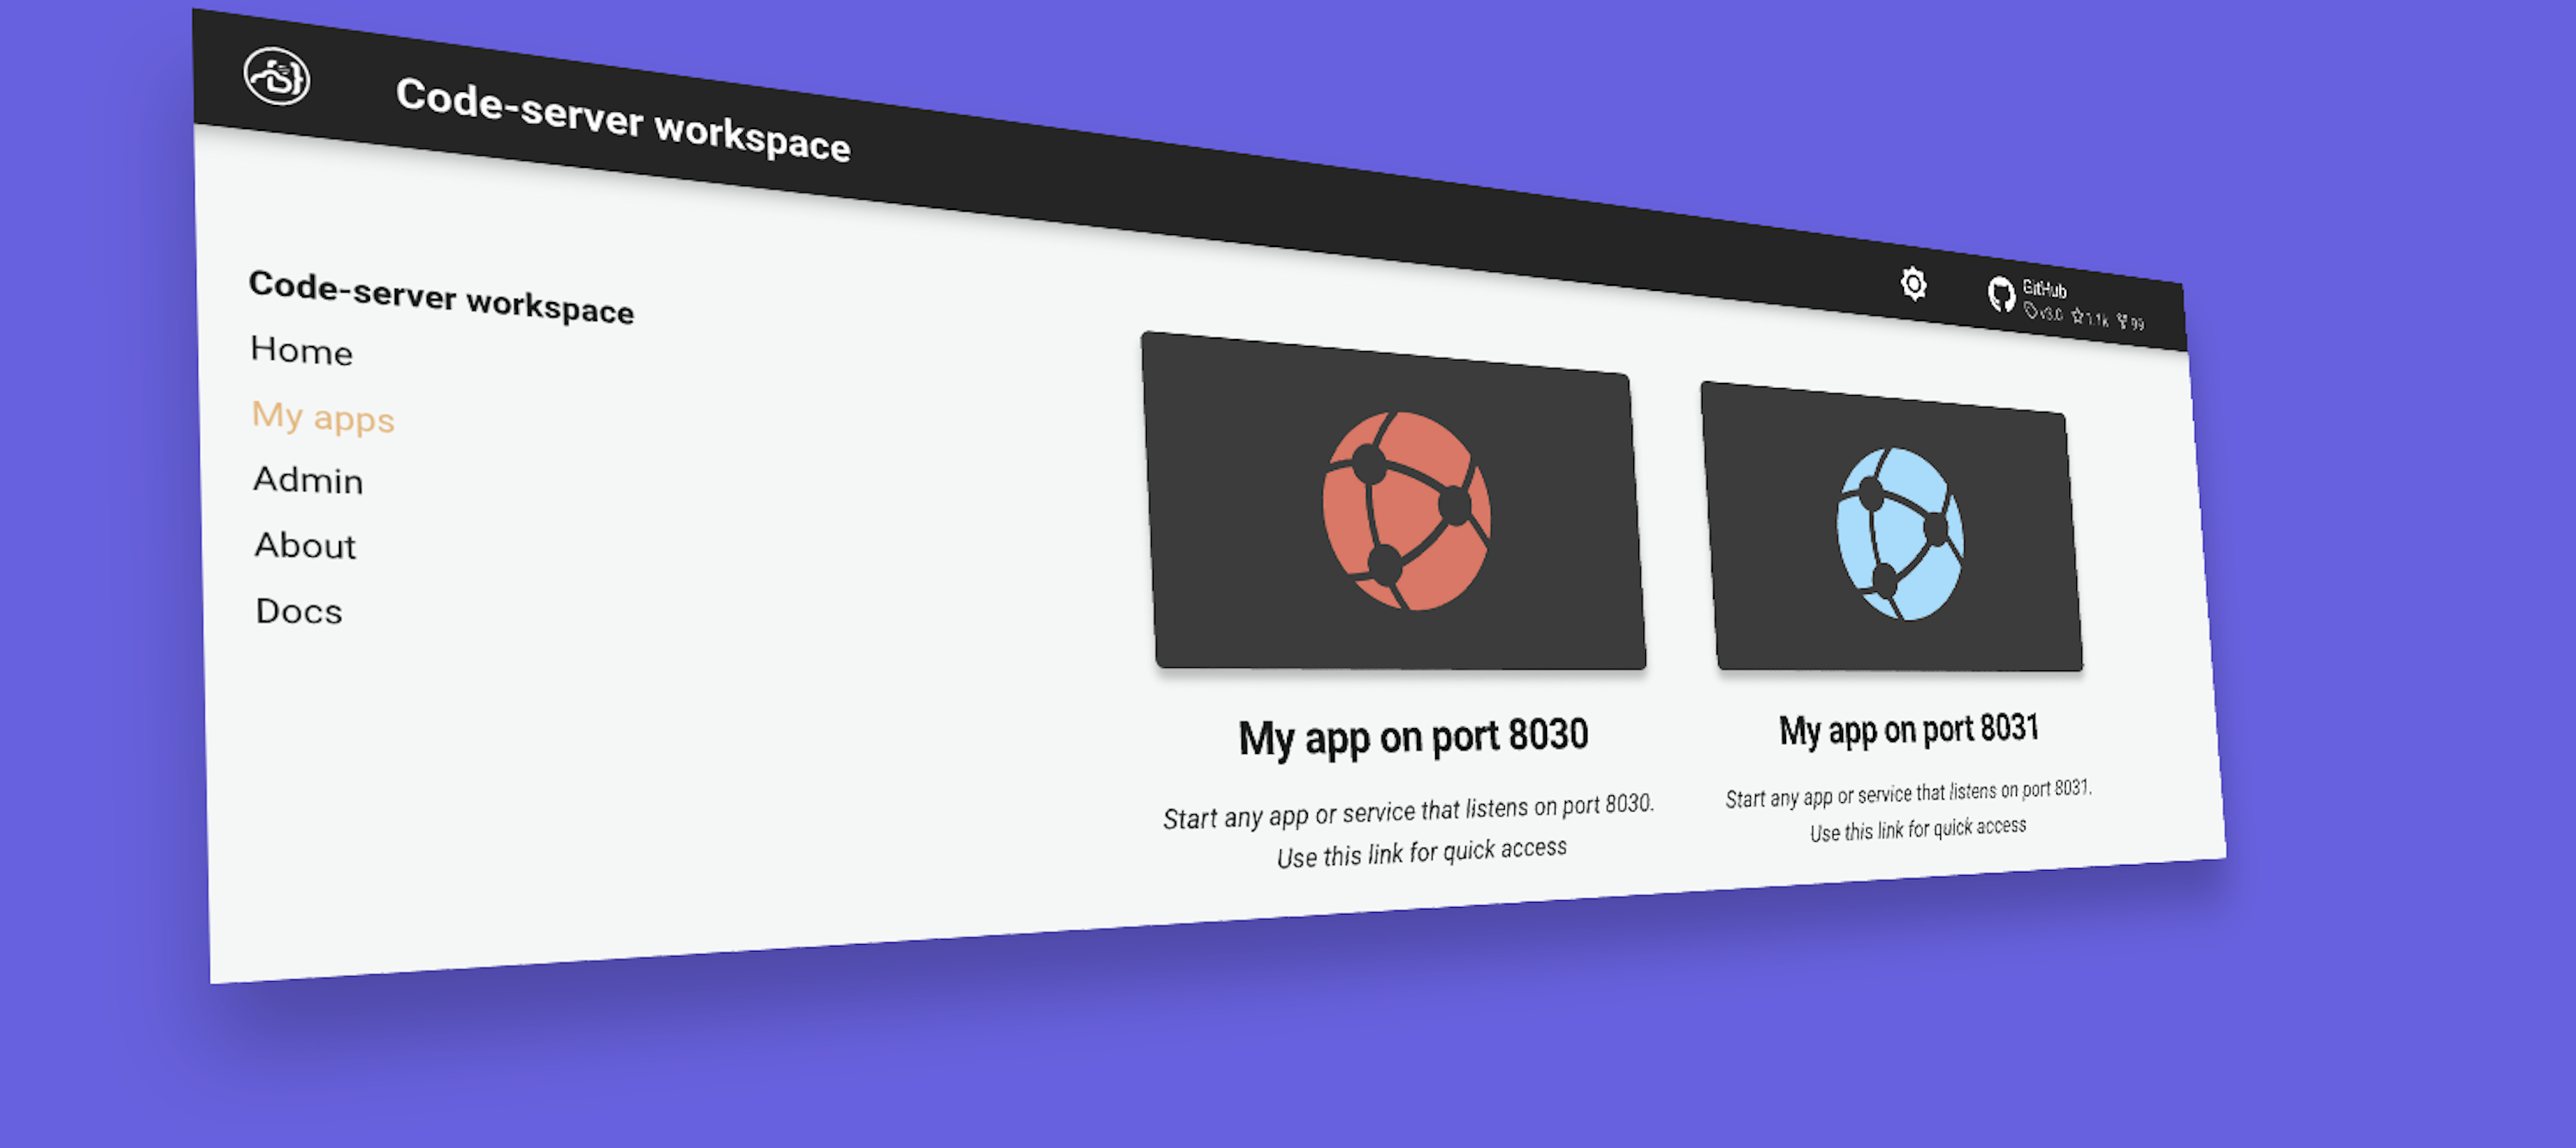
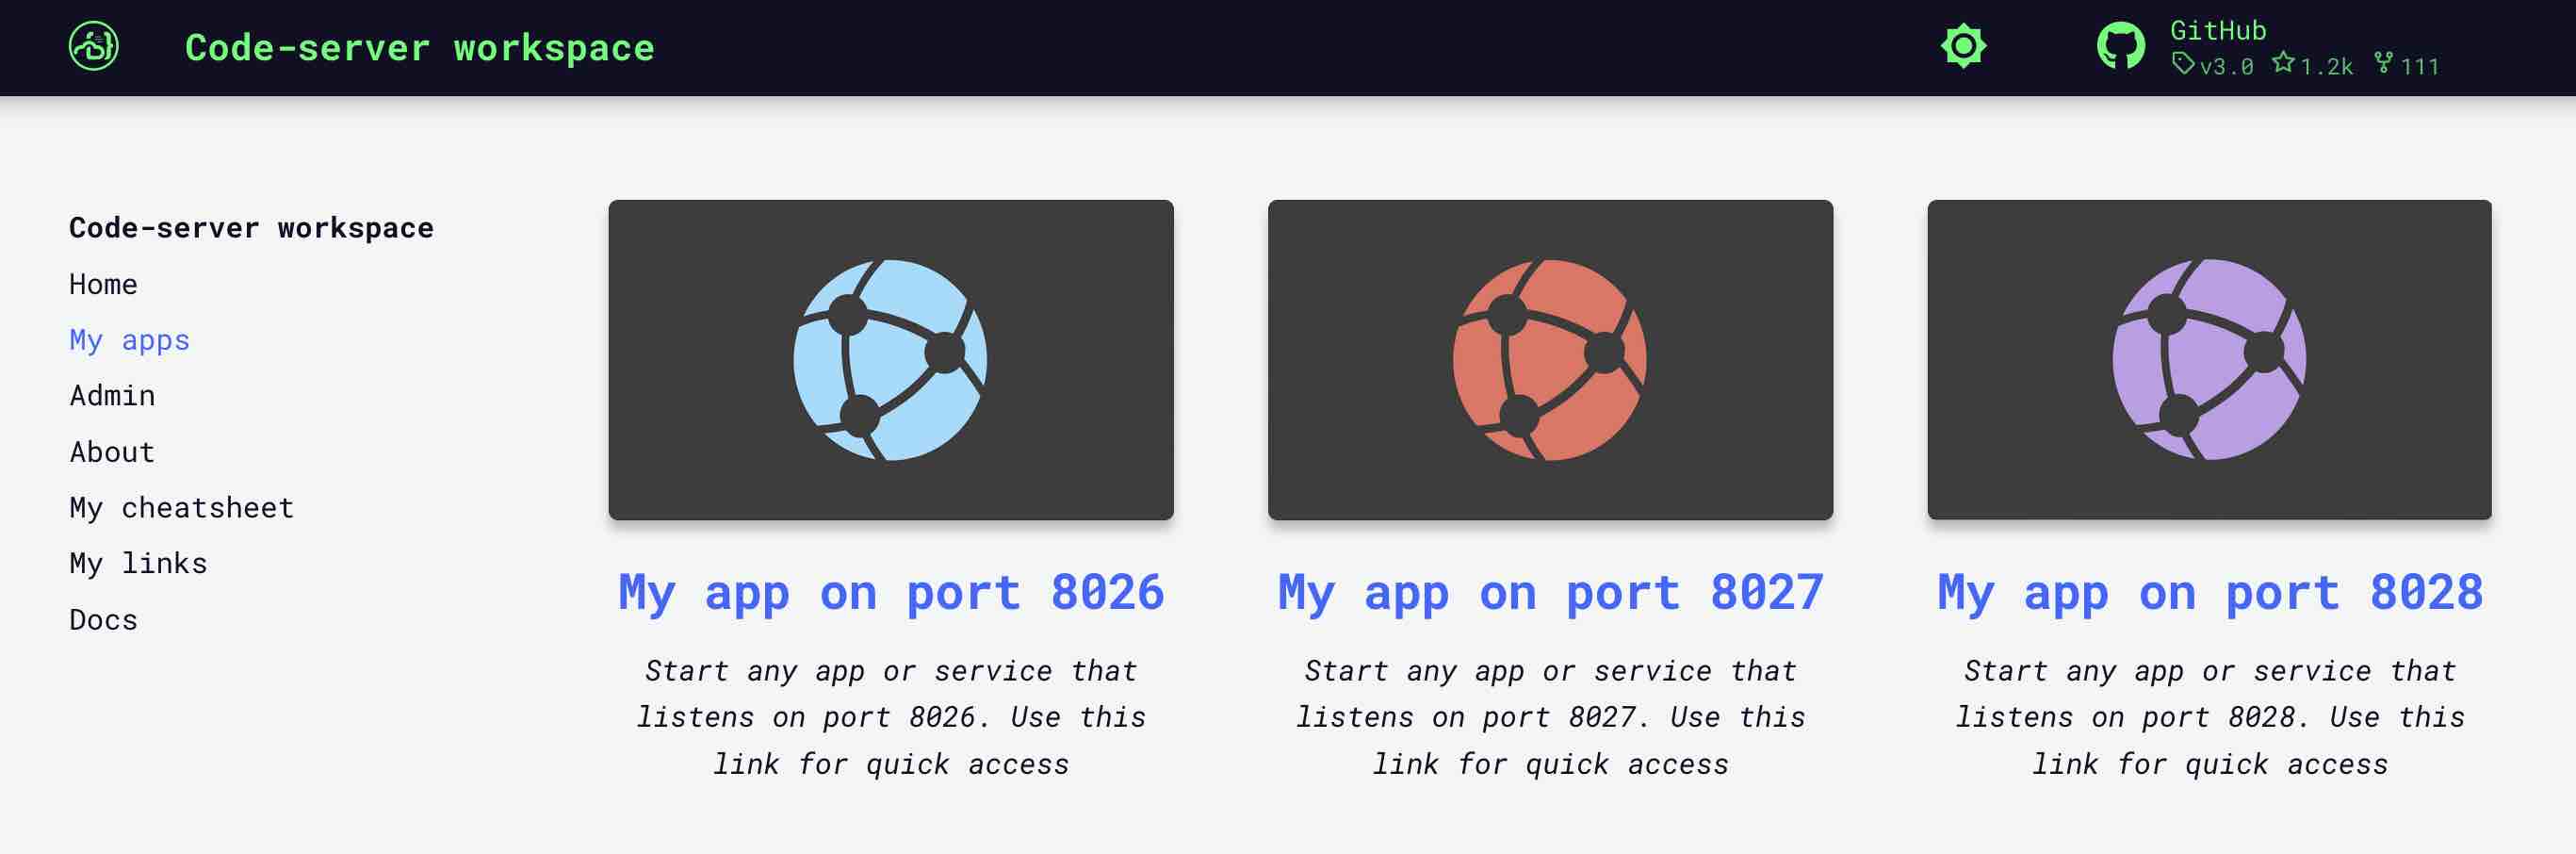
Now you can open Limus using tab "My App on port 8026":
Add to workspace
We can use Limus. But it was started from the terminal. As soon as we close the terminal, Limus process will terminalte. It is inconvenient to start Limus via terminal command (together with socat) every time we want to use it.
It would be better if Limus starts automatically with all other workspace applications every time we start the workspace. Let's add Limus as a permanent workspace application:
- Open "Admin" tab on the workspace UI and avigate to "Workspace Settings"
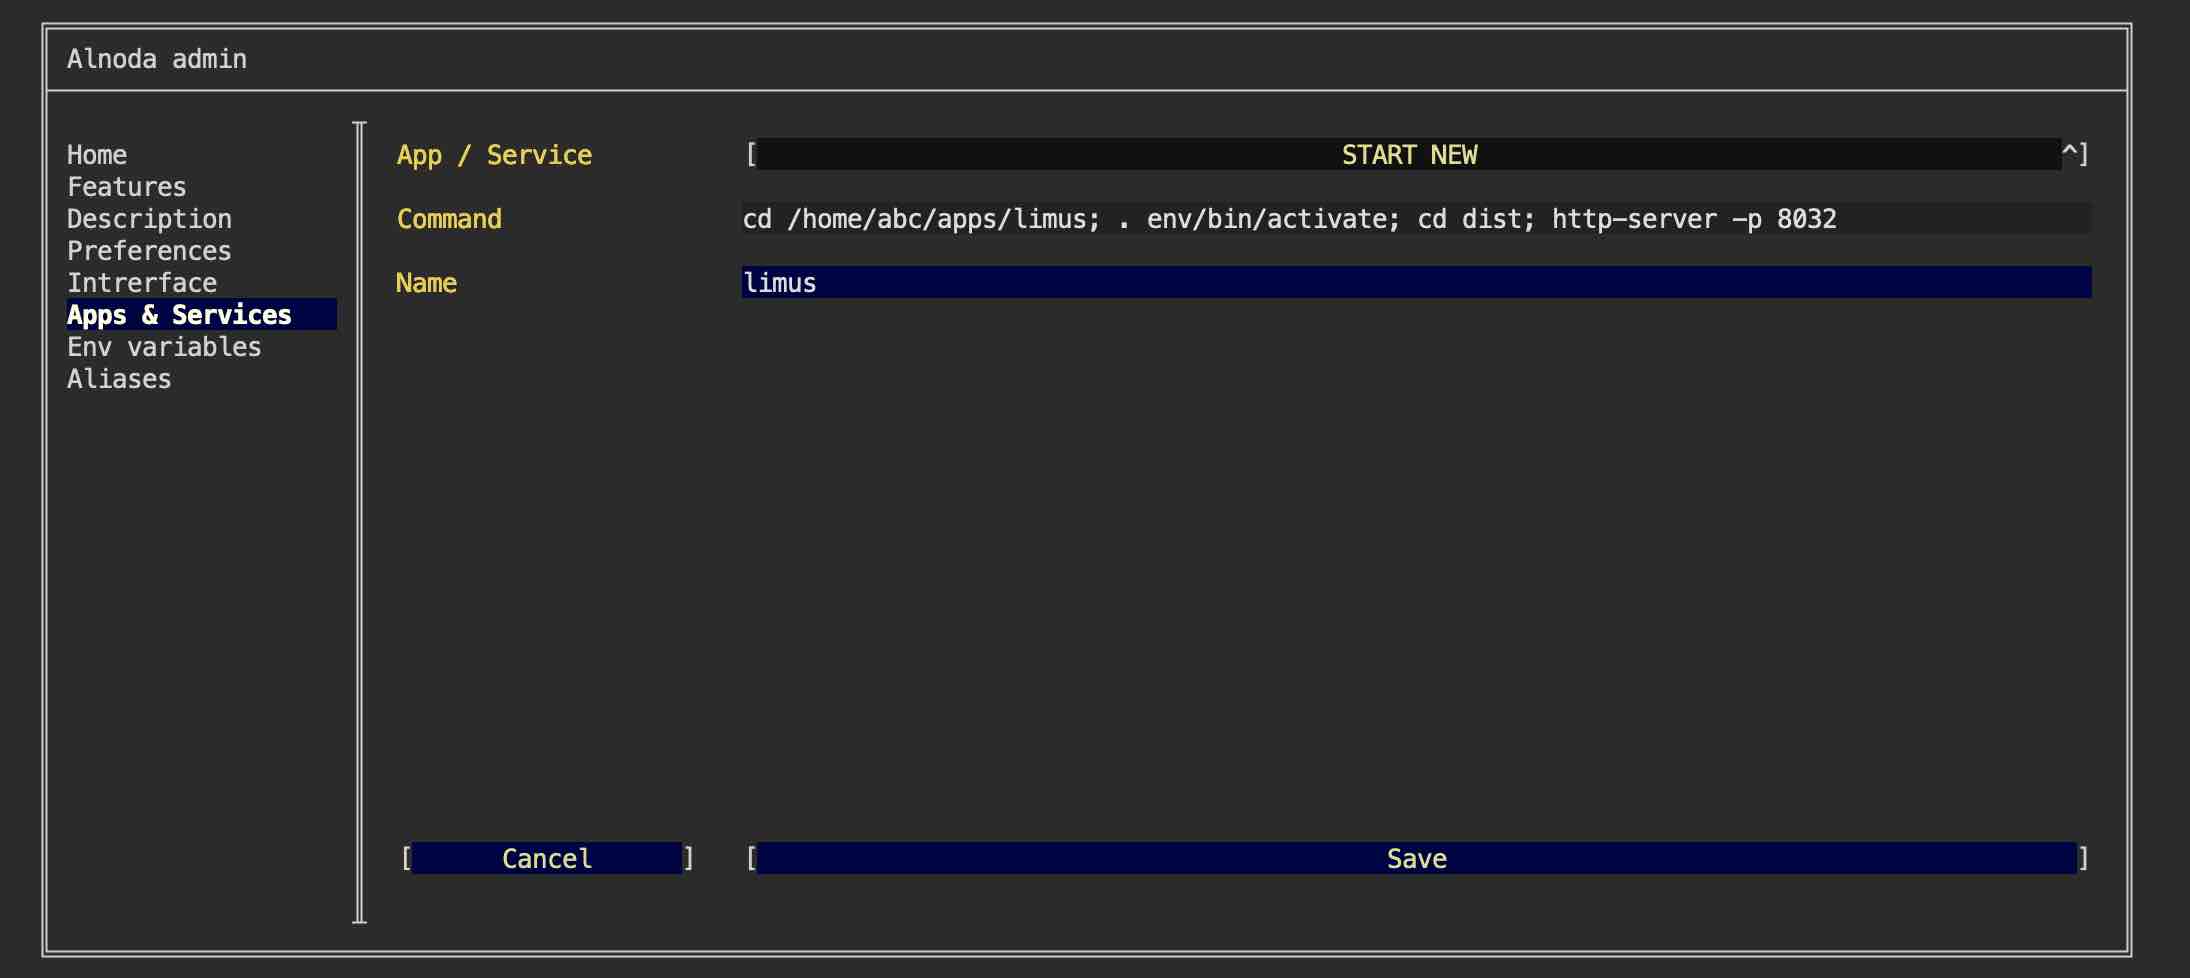
- Go to the tab "Apps & Services"
- Select "START NEW" from the picklist
- Enter the following command
cd /home/abc/apps/limus; . env/bin/activate; cd dist; http-server -p 8032
This command consists of several parts: 1) go to the Limus repo, 2) activate node environment, 3) serve Limus on port 8032
Warning
This example relies on port 8032 being available within your workspace. To verify the availability of this port, please consult the 'About' tab within your workspace's UI.
- Give it any name you want
- Click "Save"
Restart workspace to apply changes.
Create UI tab
Let's add Limus shortcut tab to the workspace "Home" page.
Shortcut tab has title, description and image. Use filebrowser or IDE to upload any image you want into the workspace. You can choose whatever you like, one option - is to create a printscreen of the Limus app itself.
After you upload the image to the workspace, make the following actions:
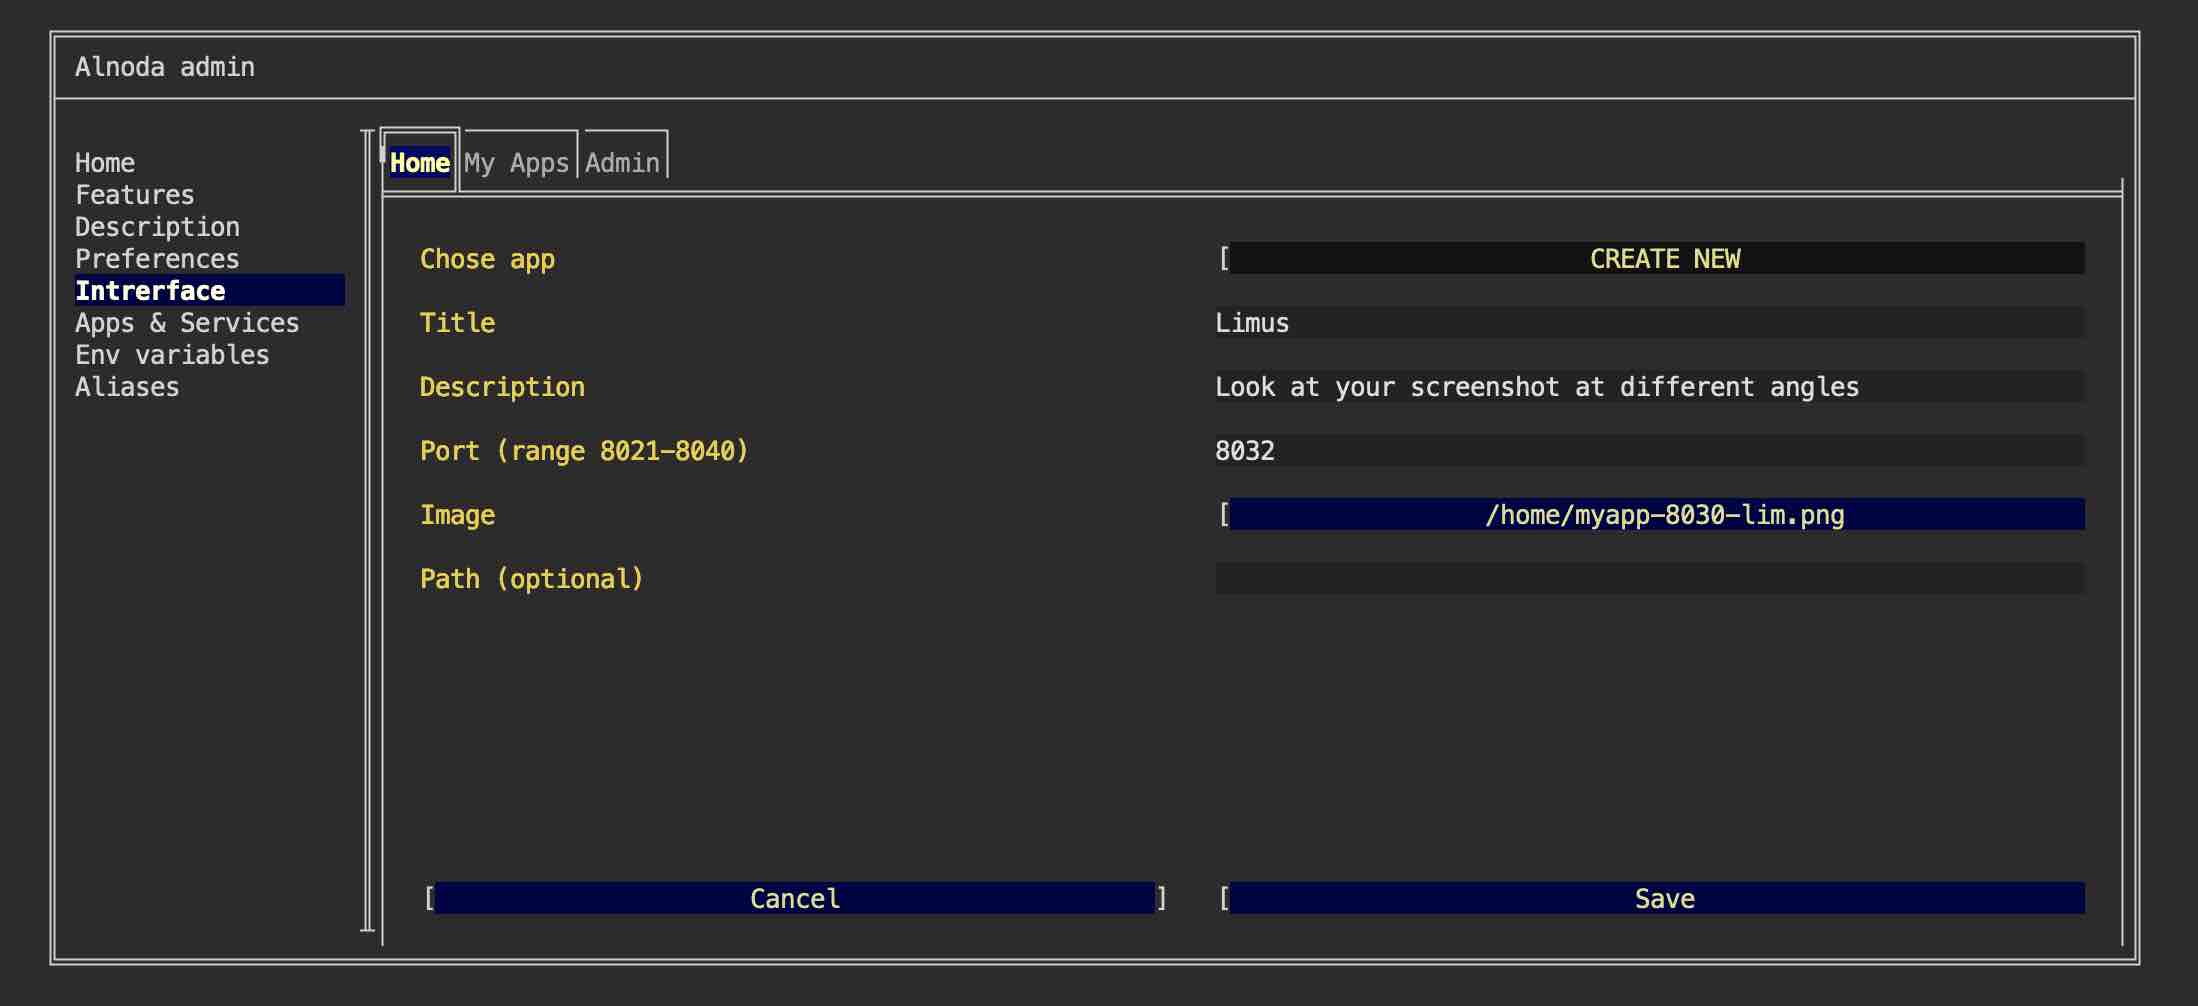
- Go to the "Interface" tab of the workspace settings and select "CREATE NEW" from the picklist.
- Give it any title and description.
- In the field "Port" enter port 8032
- In the file picker find your image.
- Leave field "path" blank and click "Create"
Now we have Limus tab on the Home page
Tip
Use the Alnoda Hub for application installation - it greatly simplifies the process!